Home / Crown Molding and Trim on Cabinets
Crown Molding and Trim on Cabinets
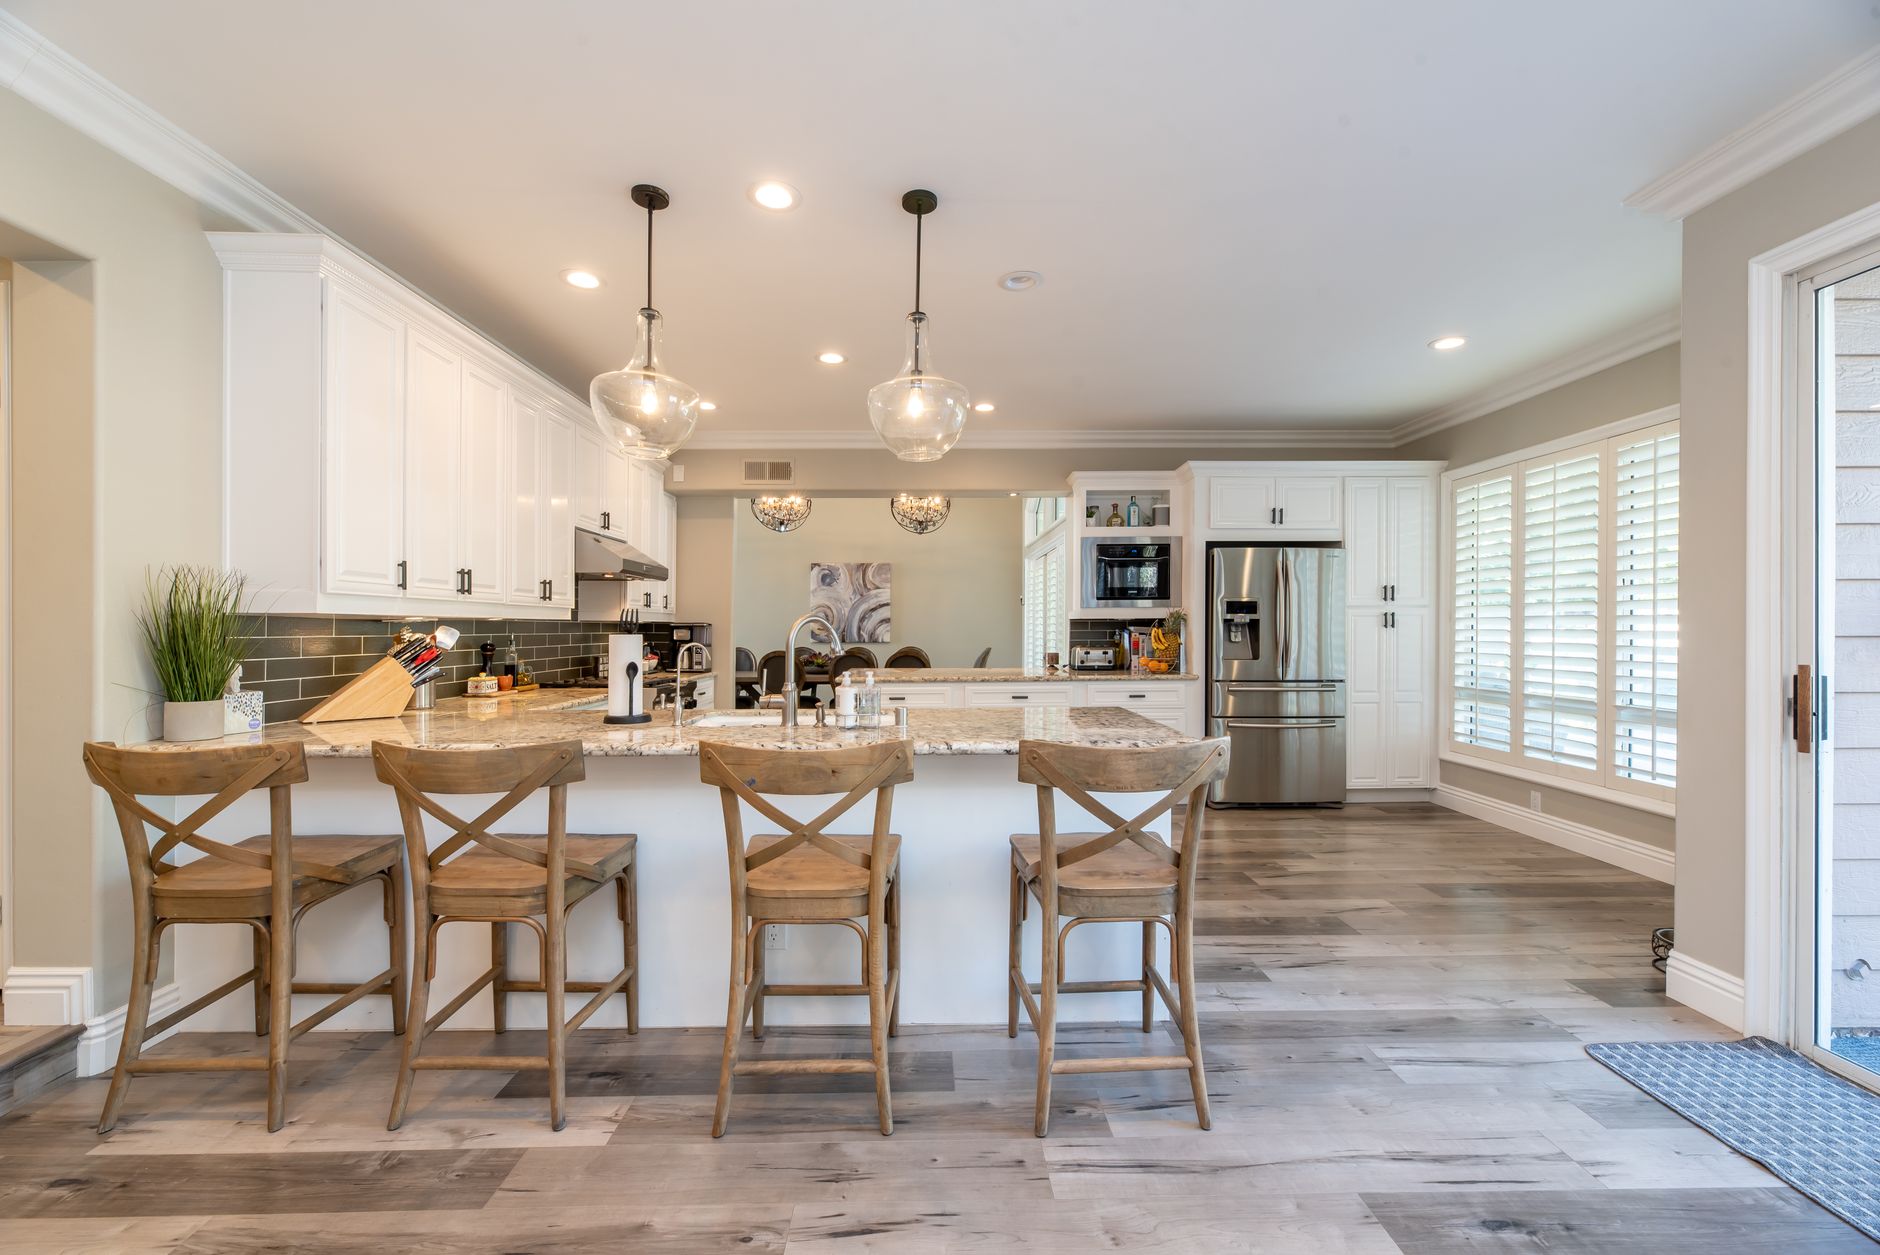
The top of the cabinet is where a kitchen looks finished or unfinished
Stand in a kitchen with plain wall units and look at the line where they meet the ceiling. A raw box edge, a strip of dusty gap or an uneven wall gives the whole room a made-do look. Add a molded cap, and the same boxes read as built-in furniture. Crown molding and its supporting trim pieces are the cheapest way to change how a set of cabinets looks, because they cover the plainest, least finished part of the cabinet.
The family of cabinet trim
Crown molding
Crown is a shaped strip that sits at an angle between the top of the cabinet and the wall or ceiling. Its profile has a curved face that creates shadow lines. Crown that is sold for rooms is often too large for a kitchen cabinet, so cabinet-scale profiles in a smaller height are made for the purpose. Because it sits at an angle, the back of the molding does not touch the wall or the cabinet unless a hidden support block is mounted behind it.
Cove and flat trim
Cove molding is a simple concave profile, plainer than crown, and it suits modern and shaker styles. Flat trim, a straight board with a small edge detail, makes a clean square top and is often used with a strong, contemporary door.
Light rail
Light rail is a narrow strip fixed along the bottom edge of wall cabinets. It hides the undercabinet lighting fixtures and the front lip of the box, so the lights are not visible when you stand at the counter. It runs the length of the cabinet run and usually returns to the wall at the ends. Without it, an undercabinet strip light or puck light shows its hard edge and glare.
Scribe molding
Scribe is a thin, flexible strip that closes the gap between a cabinet side and an uneven wall or ceiling. It can be sanded, planed or cut to follow bumps in the surface, and it is the unsung hero of trim work. A fuller discussion of scribe appears in its own guide.
Toe kick, base trim and filler panels
Under the base cabinets, the toe kick is a recessed board that allows feet to step in. Facing it with matching material or molding finishes the bottom. At appliance gaps or ends of runs, filler panels fix the width and are trimmed to the door color.
Building a crown that looks substantial
A simple crown fixed straight to the top of the cabinet face looks thin. A built-up crown, made from two or three stacked pieces, looks richer. A typical stack is a flat riser board that adds height, a cove or crown molding above it, and a small bead or band beneath. The riser raises the crown so the molding visually reaches the ceiling or sits near it, which makes the cabinets appear taller and more custom.
Nailer blocks are the support behind crown. Because crown sits at an angle, a triangular block is fixed to the cabinet top or the wall, and the molding is pinned to it. Skipping blocks leaves a hollow behind the crown that gives way to a hammer tap and shows gaps at the joints.
Cutting corners that close
Crown corners are the hardest cuts in finish carpentry. Outside corners, where the molding wraps around a cabinet end, need two matching miters. Inside corners, where two runs meet, are usually coped rather than mitered, meaning one piece is cut to the profile of the other so the joint stays tight even if the corner is slightly off square. Rooms are almost never perfectly square, so a coped joint tolerates small errors that a simple miter would show as a V-shaped gap.
Many people find it easier to cut the profile upside down and backward against the saw fence, mimicking the angle at which it will sit on the cabinet. A test run on a scrap piece, with the corner angle checked against the real corner, avoids ruining the expensive lengths.
Matching the material and finish
Trim can be solid wood, medium-density fibreboard or a flexible polymer. Solid wood molding takes stain and shows grain, and it expands slightly with humidity, which is important at long runs. Fibreboard molding is smooth, paints well and costs less, but its edges soak up moisture if they are left unsealed. Flexible polymer trim bends around curves and is moisture proof, which is useful for curved soffits and arched uppers.
The finish must match the cabinet doors. A painted kitchen takes primed trim painted in the same color and sheen. A stained kitchen needs stained trim from the same species, ideally finished from the same batch of stain. An off-color molding looks like an error rather than a design choice.
Where trim stops and gaps begin
Cabinets rarely meet the ceiling in a straight line. Ceilings sag, drywall bulges, and a long run of cabinets may rise and fall over several inches. The molding is the thing that hides this. A flexible top edge, a scribe strip or a slightly oversize crown can cover gaps up to a fraction of an inch. Larger gaps need a filler strip and sometimes a custom-cut riser.
Caulk is the final detail. A bead of paintable caulk between the molding and the wall or ceiling closes the hairline and disappears under paint. It should never be used to fill a wide gap, because that gap will crack later as the building moves.
Cabinets that do not reach the ceiling
Many kitchens have cabinets that stop short of the ceiling by a foot or more. Crown molding does not solve that gap. The usual choices are to extend the cabinets with stacked boxes, to close the space with a flat soffit-style panel, or to leave it open and use the top for display. A detailed discussion appears in the guide on full height uppers versus a gap, and it is worth reading before ordering any molding because the decision changes the height of trim needed.
Anyone who wants to see how finished trim looks in real homes may find the project stories on kitchen remodeling irvine corner useful, since those articles describe how owners handled the top of cabinets in older kitchens.
Light rail and lighting
Undercabinet lighting is a small upgrade with a big effect, and light rail makes it look intentional. Low voltage strips with a diffuser cast even light and have thin profiles. Puck lights make pools of brightness and are visible from the side. The rail hides the wiring and the fixture and gives the underside a clean line. Before nailing it on, run the power cable, check that the switch location works, and confirm that the fixture and the rail are the same depth so there are no surprises.
Order of work
- Decide on the height and style of crown with a few lengths held in place.
- Mount the nailer blocks and risers.
- Install the crown, starting with the outside corners.
- Add the light rail and scribe strips.
- Fill nail holes, caulk the seams, then sand lightly.
- Paint or finish the trim in place, and touch up the cabinet face where it meets the new trim.
Painting after installation hides nail holes and joints, and gives a continuous coat across the corner.
Mistakes to avoid
- Buying room-size crown that overwhelms short cabinets.
- Skipping the nailer blocks and relying on glue.
- Mitering inside corners and ignoring the room being out of square.
- Choosing a profile that clashes with the door style, such as ornate crown on plain slab doors.
- Forgetting to seal cut ends of fibreboard.
Good trim work is a patient job that rewards measuring twice and test fitting. The finished line at the top of the cabinets is the thing the eye lands on first when entering the room.